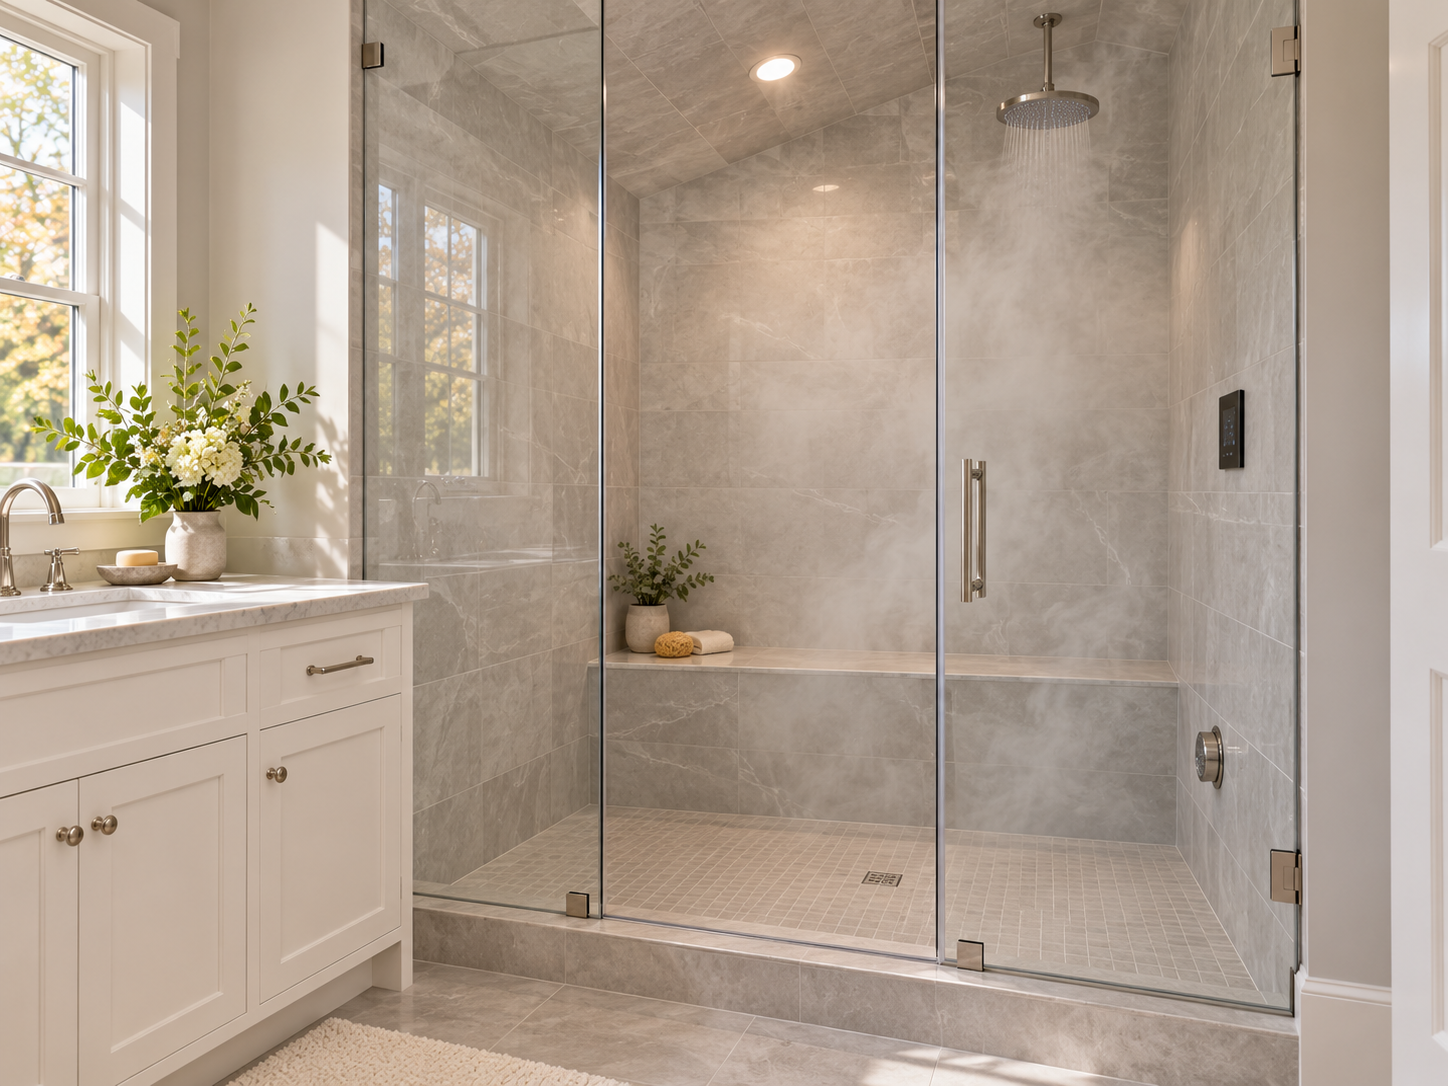
A steam shower is one of the most requested upgrades in primary bathroom remodels across Huntingdon Valley, Abington, Jenkintown, Elkins Park, Lower Moreland and the Bucks County towns just over the line. Behind the tile, though, it is a very different assembly from a standard shower. Steam pushes moisture into every seam, corner and penetration that ordinary shower spray never reaches, and the equipment that makes it needs power, water, a drain line and a place to live outside the shower.
Most decisions that determine whether a steam shower works are made before anyone picks a tile. This guide covers the planning points we review with homeowners before demolition: the enclosure, the ceiling, waterproofing and vapor control, where the generator goes, the electrical circuit, the door, and the tile and bench details that make the finished space comfortable.
Start With the Enclosure, Not the Finishes
A steam shower has to contain hot vapor in a closed box for the length of a session, which changes how the space is framed and finished. In its residential planning guidance, the MrSteam steam shower planning guide states that the shower must be enclosed, insulated and sealed, that any windows should be double-paned, and that there should be no heating, venting or air-conditioning components inside the steam room.
In practice, that leads to several early questions:
- Is the shower fully enclosed? Walls, ceiling and glass need to close the space off.
- Is there a window in the shower? Many 1960s and 1970s colonials and split-levels in Montgomery County have a window inside the tub or shower area. A single-pane unit there will lose heat and collect condensation, so plan to replace it, upgrade it or frame it out.
- Where are the HVAC registers? A supply or return register inside the shower footprint has to be relocated outside the enclosure.
Enclosure size matters too. The volume of the space, along with the wall material, drives the generator size, so the layout should be settled before equipment is selected.
Ceiling Height and Slope
Steam rises, so the ceiling needs two decisions: how high it is and whether it is sloped.
The MrSteam guide notes that high ceilings or particularly large spaces will require a larger generator. Vaulted primary bath ceilings add a lot of volume to heat. A common approach is to drop a dedicated ceiling over the shower at a more practical height and frame it as part of the enclosure.
Condensation is the other concern. Water that collects on a flat ceiling tends to drip on whoever is sitting below. Many manufacturer installation manuals call for a sloped ceiling so condensate runs toward a wall instead. The amount of slope varies by manufacturer and system, so the framing plan should follow the installation manual for the specific generator and waterproofing products you choose, with the high point over the bench so drips run away from the seat.
Waterproofing and Vapor Control Behind the Tile
This is the part homeowners never see and the part that matters most, because steam will find any weak point. A steam shower needs a continuous waterproofing and vapor control system on the walls, the ceiling, the floor and the bench.
Key items to plan and confirm:
- A system rated for steam. Not every shower membrane or board is approved for continuous steam use. Confirm the product’s data sheet lists steam showers and follow its installation details.
- Full coverage, including the ceiling. In a regular shower the ceiling is sometimes left as moisture-resistant drywall. In a steam shower the ceiling is part of the wet, vapor-exposed envelope.
- Sealed seams and corners. Inside corners, wall-to-ceiling joints and pan transitions need the manufacturer’s sealing method.
- Sealed penetrations. The steamhead, control, valve, shower head, light and any niche are holes in the envelope. Each needs a sealing detail.
- No mixing of systems. Combining a vapor barrier behind the board with a surface-applied membrane can trap moisture in the wall. Use one coordinated system as its manufacturer intends.
Ask your contractor to walk you through the moisture plan before the tile goes up, and to flood test the pan where the product calls for it.
Generator Location and Service Access
The generator is the appliance that boils water and sends steam to the shower. According to the MrSteam planning guide, it can be installed up to 60 feet away in a closet, vanity, attic or basement, essentially any dry, heated location, with 12 inches of space around it for ventilation. The same page explains that the system needs a water line to the generator, a steam line from the generator to the shower, and a drain line.
Shorter runs are easier to service. Typical locations in local homes include:
- A vanity base or linen closet next to the shower, often the simplest option in a primary suite.
- A heated basement under a first-floor bath, common in ranches and some split-levels.
- A conditioned attic above a second-floor bath, but only if the space is truly heated. Unconditioned attics in our winters can freeze water lines.
Plan a real access panel or door so the generator can be serviced without cutting into finished drywall or cabinetry. The steamhead itself goes inside the shower, and the MrSteam guide places it about 6 to 12 inches above the floor and opposite the seating area.
Electrical Circuit and Lighting
The MrSteam page notes that its systems run on household electric power at 208 or 240 volts. In practice, a steam generator needs its own dedicated circuit sized to the specific model, and that circuit has to run from the panel to the generator location.
Before the design is final, plan for:
- Panel capacity. Older homes, or homes that already added central air, a heated floor or an EV charger, may not have room for another large circuit. A licensed electrician should check the panel early.
- Control wiring. The control panel goes inside the shower, away from direct steam flow, and connects back to the generator.
- Vapor-sealed lighting. The MrSteam guide says all light fixtures must be vapor-sealed. Choose fixtures rated for the conditions and wire them before the walls close.
- Bathroom ventilation. The exhaust fan belongs in the bathroom, outside the enclosure, to clear moisture after the door opens.
Electrical work for a steam shower should be permitted and inspected. Requirements can vary by township, so confirm the details with your local building code official before work starts.
Choosing the Door and Glass
The glass keeps the steam in, so it is more than a style choice. Standard doors with an open transom or gaps at the top and bottom will not work. Steam showers typically use glass panels and a door that run to the ceiling, with seals or sweeps around the door.
A few planning details make a big difference:
- Full-height glass set into the sloped or dropped ceiling, which means the glass fabricator needs final framing and tile dimensions before measuring.
- Door swing that opens out of the shower and does not hit the vanity, toilet or towel bar.
- Hinges and hardware mounted into solid blocking planned during framing.
- An operable transom or vent panel, if desired, to clear steam between sessions.
Glass is usually measured after tile is complete, so build its lead time into the schedule.
Tile, Bench and Comfort Details
Finish materials affect both how the shower feels and how hard the generator works. The MrSteam guide notes that tile, natural stone, acrylic, fiberglass and composites each retain heat differently, which is a factor in generator selection. It also observes that larger tiles are friendlier to steam because they collect less condensation.
Details to settle before the tile goes up:
- Bench design. A built-in bench should be fully waterproofed like the walls, sized for comfort and pitched slightly so water does not puddle.
- Steamhead position. Keep it low and away from the bench and feet, following the generator manual.
- Floor tile. Choose a tile with appropriate slip resistance for a wet floor.
- Grout and setting materials approved for steam exposure.
- Niches. Keep them off exterior walls and away from the steamhead.
Frequently Asked Questions
Can I convert my existing shower into a steam shower? Sometimes, but rarely without opening the walls. Most conversions require new waterproofing rated for steam, a fully enclosed ceiling, new full-height glass, a dedicated circuit and a generator location, so it is usually part of a full shower remodel.
Where should the steam generator go in my house? In a dry, heated, accessible space near the shower, such as a vanity, closet, heated basement or conditioned attic. Avoid any location where pipes could freeze, and plan an access panel for service.
Does a steam shower need a dedicated electrical circuit? Yes. Steam generators run on 208 or 240 volts and need a circuit sized for the specific model. A licensed electrician should confirm your panel has capacity.
Why does the ceiling need to be sloped? A sloped ceiling helps condensation run down the walls instead of dripping on you. Follow the slope recommended in your generator and waterproofing manufacturers’ instructions.
Do I need a permit for a steam shower in Montgomery or Bucks County? Most steam shower projects involve electrical and plumbing work that requires permits and inspections. Rules vary by township, so check with your local code office or have your contractor confirm before work begins.
If you are planning a steam shower as part of a primary bathroom remodel in Huntingdon Valley or the surrounding Montgomery and Bucks County communities, Huntingdon Valley Kitchen & Bath Remodelers can help you plan the enclosure, coordinate the generator, electrical and plumbing rough-in, and detail the waterproofing, glass and tile so the finished shower performs the way it should. Learn more about our bathroom remodeling services and schedule a consultation before your design is finalized.